Sunday 22 March 2015

Outcome

So I decided to test my food dehydrator to see if it really works. To test it I attempted to dry sweet potatoes as treats for my dog since her birthday is coming up.

I cut the sweet potatoes length-wise each about the sane thickness so they would all dry at relatively the same time. Next I squeezed as many slices of sweet potato as I could onto the racks, making sure they were close but not touching. From there they went straight into the food dehydrator. Finally I plugged it in and waited.


After a good 36 hours of waiting, the sweet potatoes were finally dried, and ready to be gifted to my dog. She loved them!


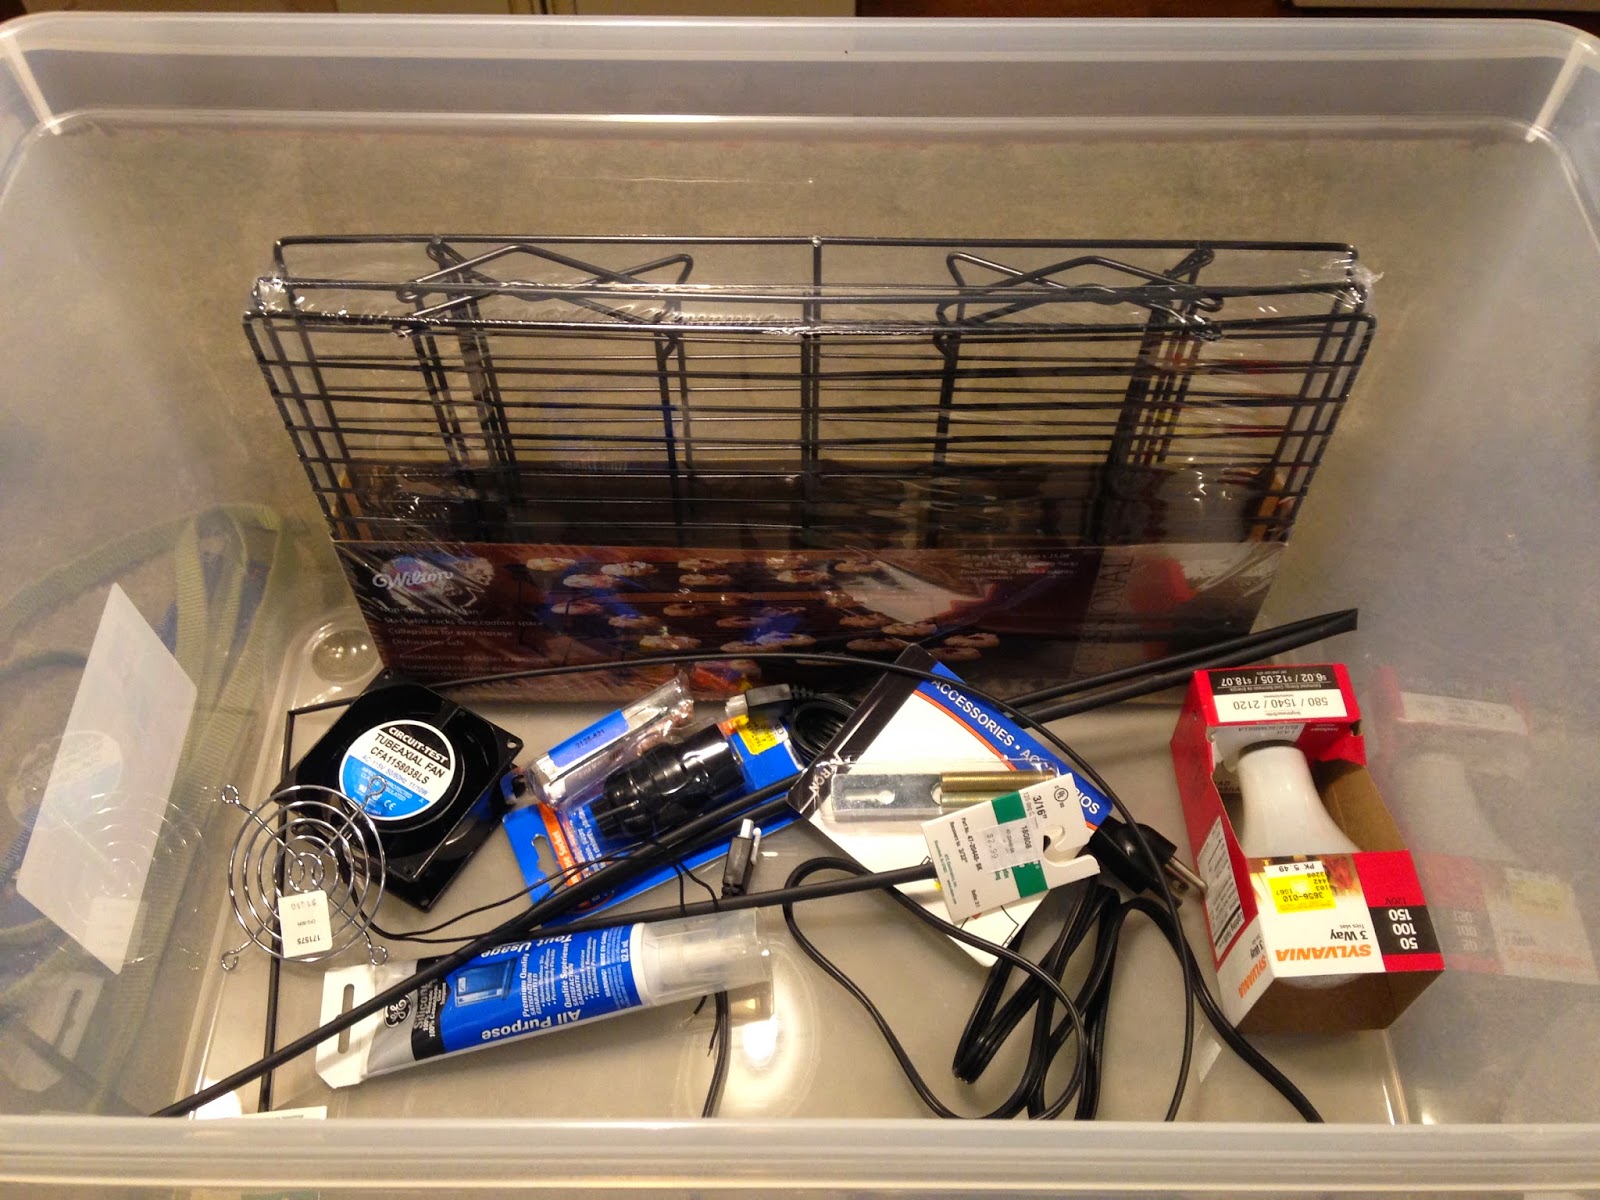
All in all I would consider this project to be a success. I mean I did create my own food dehydrator that actually works! As of areas of improvement, I would try to cut down the drying time. To do this I would probably try getting a higher power lightbulb (since I used a 250V bulb in this project and my own food dehydrator had a 550V light). If that didn't work I could always try a higher powered fan as well. If worse came to worse I could get a smaller container, but that would be much more of a hassle hassle since I adjusted this container a lot to fit the lightbulb and fan. 

I overall really enjoyed this project because I took a big risk, and I think it really paid off, I learned a lot about how food dehydrators work, and I now have a great tool that will help me more in future Outdoor Trips.

Sunday 1 March 2015

Where am I now?

Today I finished my food dehydrator. I look forward to trying it out tonight by drying sweet potato treats for my dog. But that will be in my next post. Right now I'll show you how this finished product came to be in as simple a form as I can, since it was pretty complicated.

I started off with the materials (named in my last post).

The first thing I had to do was cut the holes for the fan and the lightbulb. I had to draw the appropriate size of circle for both and drill a small hole. Then I used a scroll saw blade and cut out the circle. The cutting was the part that took me the most time.


The next step was to fit the fan and lightbulb into the holes and actually get them to work. The lightbulb was easy because you pretty much just match the wires in the wire/plug in, and add and then just plug it in. The fan I had to do the same thing with the wires which wasn't too hard either. 

To secure the fan I used screws and bolts that I made extra holes to stick in. To secure the lightbulb, the holder I got twisted into the container so that was pretty easy.


After I sorted out the lightbulb and the fan all I had to do was drill air holes at the top of the container so air can escape. I used a drill and made about 25 holes on each long side and maybe around 12 along each short side.


After that I used an exacto knife to cut off the extra material stuck on the holes to give it a cleaner look.


Wednesday 11 February 2015

How to Make It

Where am I in my Winter Project now? So I've already decided to make a food dehydrator with a light bulb and a fan. I've also recently been collecting all sorts of materials that I'll need to make a functioning food dehydrator.

From shopping at Staples for posters, and finding my perfect container, to the stackable racks bought on sale at Target, to just about everything else I could ever need at Home Hardware.


Wondering what kinds of materials I have shown above? So I have medium-size container, stack able racks, a tube axial fan, an 120V lightbulb with a medium base socket, heat shrink tubing, silicone rubber, lots of cables, and other accessories.

Although I've made a big dent in this project there's still a lot more to do. The next steps will be the hard ones. I do have a plan, and I plan to follow through on that plan.


Wednesday 14 January 2015

Deciding what to make!

Creative projects like this are always tough. There's so many possibilities, making our job much harder. Luckily for me, I had an idea from the very moment I heard about this project. While deciding I was thinking about something that no one else would pick. I assumed most people would go the obvious route, knit a scarf, or something to solve a problem with camping. I didn't think anyone would pick something like a food dehydrator, which is what I've decided to do.

My decision to make a food dehydrator stemmed from my own food dehydrator, since I use it so frequently. I make apple rings, beef jerky, and any camping food. Last night I even dehydrated sweet potato to make treats for my dog!

When I came up with the idea, I looked at my own food dehydrator and thought. How could I possibly make something that sucks all the water out of food...

As soon as I heard about this project, I began to think and plan it out. Make sure that it will actually work. First and most important, I will need a fan and a light bulb. Next I will need some sort of container and shelves that will be able to hold the food while they are dehydrating. I actually found the perfect container at Staples while I was there buying a poster board. The shelves I found while searching at Target.

I can't wait to assemble this food dehydrator!